
Choosing the Right Rub
Do Rubs Really Make a Difference – Or Is Technique More Important?
Jul
Do Rubs Really Make a Difference – Or Is Technique More Important?
A flavour‑truth guide from Outback Smoke & Fire
Most people think great flavour comes from what you sprinkle on top. But the truth is simpler: technique is the multiplier, rubs are the amplifier.
This guide breaks down how rubs actually work, when they matter, when they don’t, and how to use them across BBQ, oven, pan, air fryer and weeknight cooking. If you’re new to OSF, you might also like our primer on multi‑use seasoning: What Is a Multi‑Use Seasoning?
1. What a Rub Actually Does (and Doesn’t Do)
A dry rub is a blend of salt, spices, herbs and sometimes sugar applied to the surface of food. Its job is simple: season the outside and help build flavourful crust. That’s it.
Salt penetrates. Spices don’t.
Salt is the only part of a rub small enough to move inward. Given time, it diffuses into the meat, seasons it more evenly and gently changes texture.
The rest of the rub — paprika, garlic, herbs, chilli, sugar — stays on the surface. That means rubs don’t “flavour meat from the inside out.” They create a seasoned, reactive surface that responds to heat.
For a deeper dive into this, see Dry Brining vs Marinating: What Actually Changes the Meat?
Rubs work through surface reactions
When heat hits a rubbed surface, three big things happen:
- Browning (Maillard reaction): proteins + heat = savoury, toasty notes.
- Caramelisation: sugars darken and sweeten.
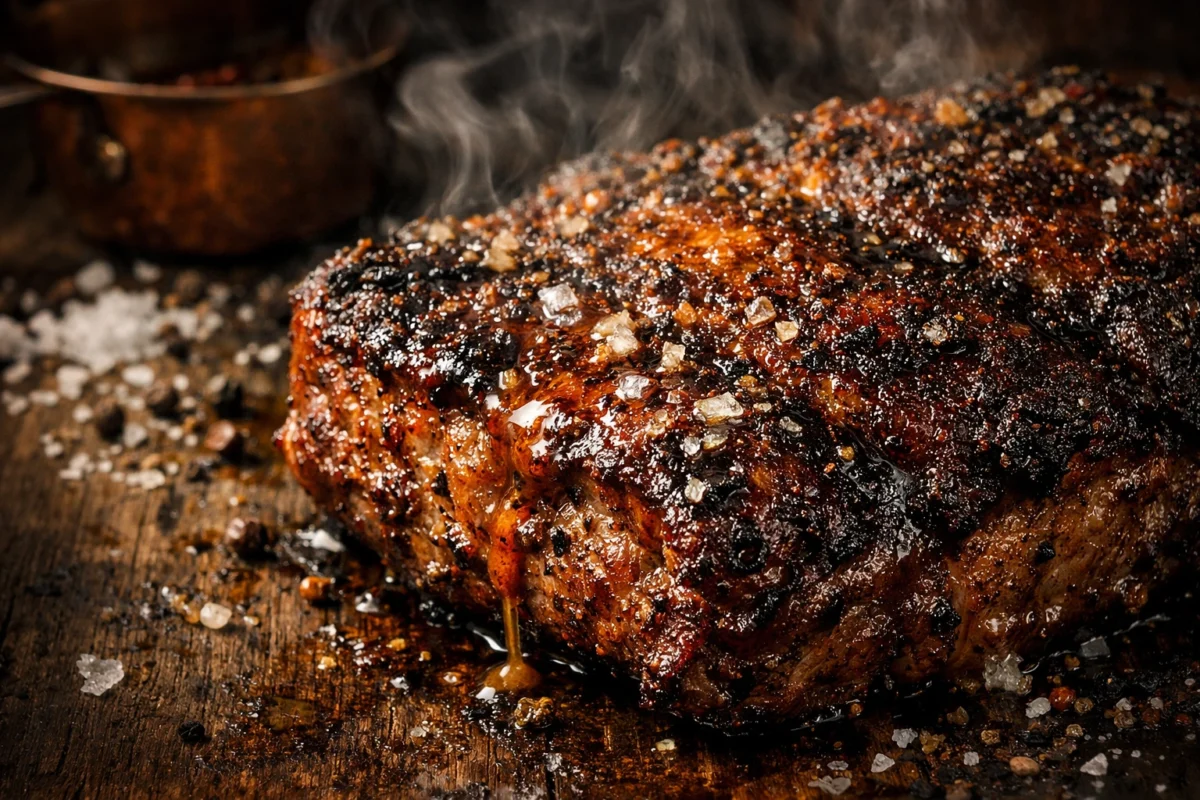
- Bark formation: fat, juices, smoke and rub fuse into a dark, flavourful crust.
This is why rubs matter most when the surface matters most — brisket bark, rib crust, crispy chicken skin. For more on bark, read The Science Behind BBQ Bark
2. Technique: The Part Everyone Gets Wrong
You can buy the best rub in the world and still end up with pale, soggy or burnt food. The difference isn’t the label on the jar — it’s what you do before and during the cook.
Dry brining: salt first, rub second
Modern pitmasters treat salt as its own step:
- Salt the meat based on weight.
- Let it rest so the salt can move inward.
- Add the rest of the rub later, based on surface area.
This gives you seasoned meat inside, and a rub that stays where it should — on the outside. More detail in How to Dry Brine Meat for Bigger Flavour
Surface drying and moisture control
Browning hates excess surface moisture. Always:
- Pat the meat dry with paper towel.
- Salt and rest in the fridge, uncovered.
- Avoid wrapping rubbed meat tightly in plastic.
A dry, seasoned surface is what lets your rub turn into crust instead of sludge.
Heat matching: sugar vs temperature
Sugar is a hero at low‑and‑slow temperatures and a villain over screaming‑hot flames.
- Low‑and‑slow (100–140°C): sugar‑friendly, bark‑building.
- Hot‑and‑fast (200°C+): go lighter on sugar, lean into savoury and spice.
More on this in Why Sugar in BBQ Rubs Doesn’t Burn
3. Rub vs Marinade: When Each Actually Wins
Rubs and marinades aren’t rivals — they’re tools.
Use a rub when you want:
- Crust or bark
- Strong surface flavour
- Quick prep
- High‑heat grilling or smoking
Use a marinade when you want:
- Extra moisture on lean cuts
- A softer, more tender surface
- Global flavour profiles built on acid + aromatics
Use both for layered flavour
Marinate for moisture, pat dry, then apply a rub for crust. Just don’t double‑salt or overload sugar.
More in Dry Rub vs Wet Rub
4. How to Apply a Rub Properly (Beginner‑Proof)
If you remember nothing else, remember this sequence:
Step 1: Pat dry
Wet meat turns rub into paste and fights browning.
Step 2: Salt first
Salt based on weight. Let it rest. This is your inside seasoning.
Step 3: Binder (optional)
- Mustard: classic; flavour disappears.
- Oil: great for lean proteins and veg.
- Nothing: perfect for fatty cuts.
More in Do You Need a Binder for Rubs?
Step 4: Season by surface area
Sprinkle from a little height. Press gently. Don’t scrub.
Step 5: Timing
- Thin steaks & chops: 15–40 minutes
- Chicken pieces: 30 minutes–4 hours
- Whole birds: 12–24 hours
- Pork shoulder & brisket: overnight
Full timing guide: How Long Should a Dry Rub Sit?
5. Protein‑Specific Rub Technique
Beef
Beef loves bold, savoury, pepper‑forward rubs. Keep sugar low. More in Best BBQ Rubs for Beef
Pork
Pork is a friendly canvas for sweet + smoky + savoury. More in Best BBQ Rubs for Pork
Chicken
Easy to oversalt and easy to dry out. More in Best BBQ Rubs for Chicken
Fish
Delicate. Go light on salt, low on sugar, and gentle on heat.
Vegetables
Veg loves rubs — especially multi‑use blends. More in Best BBQ Rubs for Vegetables
6. Common Rub Myths (And the Truth Behind Them)
“Rubs penetrate the meat.”
Only salt penetrates. Everything else stays on the surface.
“More rub = more flavour.”
More rub = more surface intensity, not more depth.
“You must use mustard as a binder.”
Optional, not mandatory.
“Sugar always burns.”
Sugar burns at high heat, not low‑and‑slow.
“You need lots of different rubs.”
You need a few well‑designed blends and good technique.
7. How to Choose the Right Rub (Without Overthinking It)
Start with flavour‑truth
Ignore gimmicks. Look for real herbs, spices and salt.
Check grind size
Fine = even coverage. Coarse = bark and texture.
Understand salt and sugar strategy
Match the rub to the protein and the heat source.
8. Multi‑Use Seasonings: The Modern Evolution of “BBQ Rubs”
Modern cooking isn’t just smokers and offset pits. You’re using ovens, air fryers, cast‑iron pans, gas grills and weeknight sheet pans.
That’s why OSF treats rubs as multi‑use seasonings — built for brisket and broccoli, wings and weeknight veg, pan‑seared steak and air‑fried potatoes.
For ideas, see 10 Ways to Use OSF Seasonings Beyond the BBQ
9. The OSF Philosophy: Technique First, Flavour Always
Outback Smoke & Fire isn’t trying to convince you that a jar of rub will fix bad cooking. It won’t. What it will do is reward good technique with bigger, cleaner, more intentional flavour.
- Ingredient‑led flavour: real herbs, spices and salts.
- Flavour‑truth: blends that taste like what they say.
- Multi‑use design: built for BBQ, brilliant everywhere.
- Technique respect: we assume you can learn good cooking.
If you’re ready to level up, pair this with: How to Apply BBQ Rubs Properly and How Much BBQ Rub to Use