
BBQ Basics
How to Make BBQ Rubs Stick Better
Jun
How to Make BBQ Rubs Stick Better (So You Actually Get Colour + Crust)
If your rub keeps falling off, clumping, patching or disappearing the moment it hits the grill, you’re not doing anything wrong — you’re just missing a few simple tricks.
Good news: making rubs stick isn’t complicated.
It’s technique, not magic.
If you’re new to rubs, this rub application guide, our deep dive into why sugar doesn’t burn and the science of BBQ bark will help you get even more out of this guide.
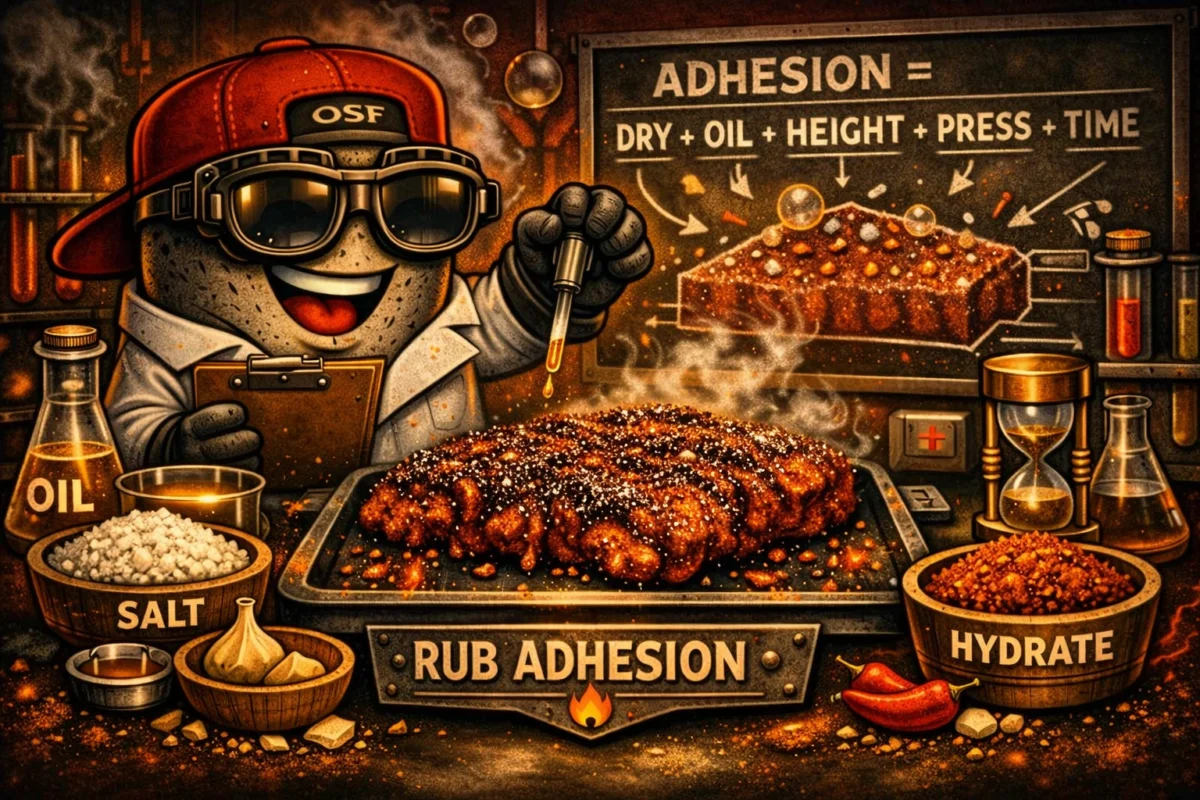
Here’s the no‑nonsense guide to getting your rub to cling, melt, bond and build proper colour every single time.
🔥 1. Start With Dry Meat
Moisture is the enemy of adhesion.
Wet meat = rub slides off.
Dry meat = rub sticks instantly.
Do this:
- Pat the meat dry with paper towel
- Remove surface moisture, not internal juices
- Don’t season straight out of the packet
Dry surface = perfect canvas.
🔥 2. Use a Light Coat of Oil (Optional but Powerful)
Oil helps the rub grab on — especially on lean cuts.
You’re not marinating.
You’re giving the rub something to cling to.
Best oils: olive oil, rice bran oil, neutral BBQ‑friendly oils.
Avoid: heavy sauces, sticky marinades, sugary bases before the rub.
Oil first → rub second → perfect adhesion.
🔥 3. Season From Higher Up
Most people shake too close to the meat, which creates clumps and bald spots.
Hold the shaker 20–30 cm above the protein and let it fall like seasoning rain.
This gives you:
- Even coverage
- No clumps
- No patchiness
- Better colour
High shake = pro finish.
🔥 4. Press, Don’t Rub
Despite the name, you should never rub a rub.
Rubbing smears the spices, breaks the crust and creates uneven patches.
Do this instead:
- Sprinkle generously
- Press gently with your hand
- Don’t massage it like a day spa
Patting locks the rub in place without disturbing the blend.
🔥 5. Give It Time to Hydrate
Rubs stick better when they’ve had a moment to melt into the meat.
Timing guide:
- Wings, thighs, skewers → 10–20 minutes
- Pork ribs, belly, chops → 20–30 minutes
- Whole chicken, pork shoulder → 30 minutes to overnight
During this time:
- Salt pulls moisture up
- Sugars dissolve
- Spices hydrate
- The rub becomes a paste that bonds
Hydration = adhesion.
🔥 6. Don’t Shake Rub Over Steaming Food
Steam goes straight into the jar and ruins the rub.
It also makes the rub clump on the meat instead of sticking cleanly.
Always:
- Shake into your hand
- Then apply to the meat
Dry rub = sticky rub.
🔥 7. Use the Right Rub for the Job
Some rubs naturally stick better because of their balance of salt, sugar and spice.
Best OS&F rubs for adhesion:
- Fixes Most Things — melts evenly, sticks instantly
- Sweet Heat & Shenanigans — sugars hydrate fast for glossy coating
- Too Hot for Common Sense — clean heat that bonds beautifully
- Herbalicious Rubdown — herb‑forward blend that clings without clumping
If you want a rub that sticks, melts quickly and builds colour fast — these are the ones.
🔥 8. Don’t Fiddle on the Grill
Even perfect adhesion fails if you flip too early.
Let the crust form.
Let the sugars caramelise.
Let the spices bond.
Flip once.
Touch less.
Trust the process.
🔥 9. Add a Finishing Sprinkle (Optional)
For extra flavour and colour, add a tiny dusting after cooking.
This gives you:
- Fresh spice pop
- Extra brightness
- A final hit of attitude
Best finishing rubs: Fixes Most Things, Herbalicious Rubdown, Too Hot for Common Sense.
🔥 The Final Word
If you want rubs that actually stick, remember:
- Dry the meat
- Add a little oil
- Season from higher up
- Press, don’t rub
- Let it hydrate
- Don’t fiddle
- Use a rub built to cling
Do that and your BBQ will finally look like the photos you’ve been saving.
The Outback Smoke & Fire range is engineered to melt, bond and build colour — so your food looks intentional, not accidental.