
Choosing the Right Rub
Should Beginners Use Store‑bought Rubs or Homemade Blends?
Jul
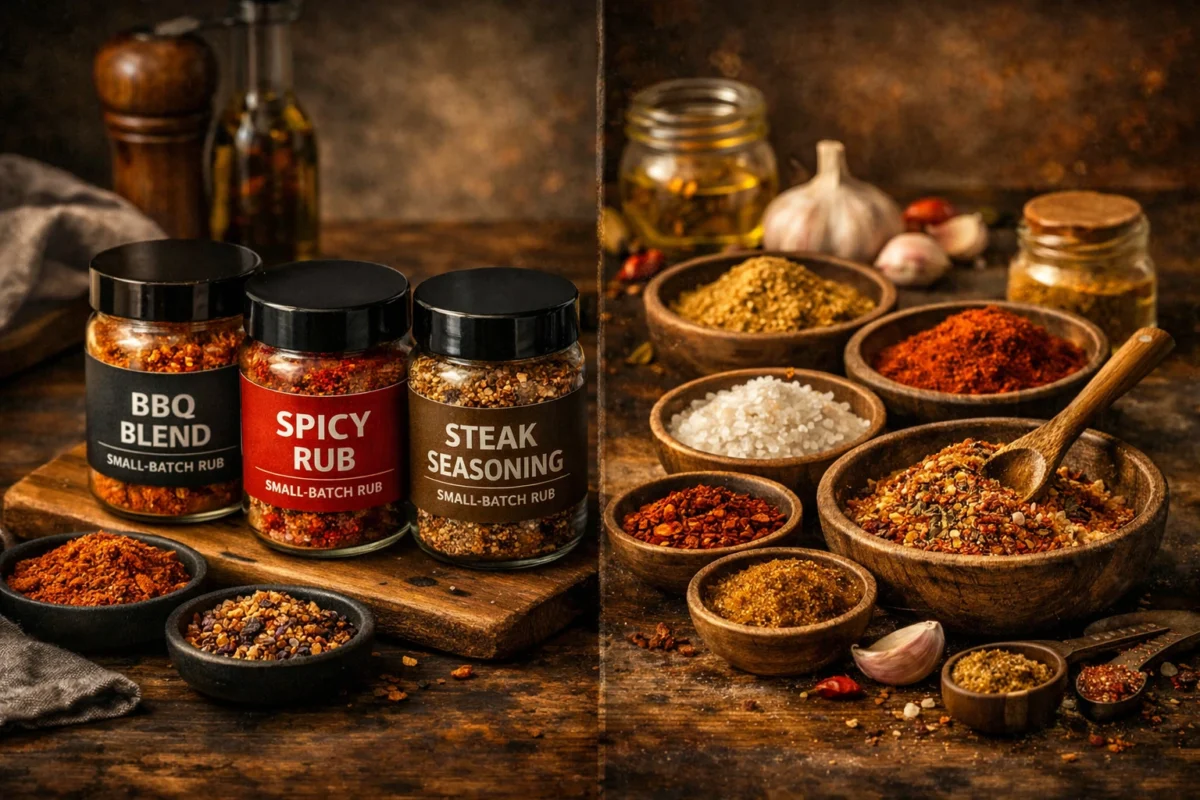
Should beginners start with small‑batch rubs or homemade blends? Here’s the no‑nonsense answer. Small‑batch rubs teach your palate. Homemade rubs express your personality. This guide breaks down when to use each, how to avoid beginner mistakes, and how to season with confidence — whether you’re cooking meat or veg.
Small‑Batch vs Homemade Rubs: The Beginner’s Guide to Flavour That Actually Works
If you’re new to BBQ rubs, here’s the truth: small‑batch rubs teach your palate, homemade rubs express your personality. Both matter — just not at the same time.
What This Article Covers
- What a dry rub actually does
- Why beginners should start with small‑batch rubs
- Why homemade rubs matter later
- How to know when you’re ready
- A simple beginner‑friendly rub formula
- Common mistakes to avoid
- How to apply a rub properly
- Dry rub vs dry brine
- Vegetables + rubs
If you’re still learning the basics, our step‑by‑step guide to applying BBQ rubs properly is the best place to start. And if you want the full flavour map, the complete Outback Smoke & Fire rub guide breaks down every blend in the range.
The Real Question Beginners Are Asking
When someone asks whether they should start with small‑batch rubs or homemade blends, they’re not really asking about spices. They’re asking:
- How do I get reliable flavour without stuffing it up
- How do I avoid wasting good meat
- How do I learn what “balanced seasoning” actually tastes like
Good news — the answer is simple. It’s not a personality test. It’s flavour logic.
What a Dry Rub Actually Does
A dry rub is flavour architecture — a deliberate balance of:
- Sugar for browning and crust
- Salt for seasoning and moisture retention
- Savoury elements like garlic and onion
- Herbs & spices for aroma and identity
- Heat for lift and excitement
You don’t need to memorise this. You just need to taste it — properly balanced, properly applied.
Why Beginners Should Start With Small‑Batch Rubs
1. Predictability
Good small‑batch rubs are tested on real meat, in real cooks, by people who understand flavour balance.
2. Consistency
Every shake tastes the same. This teaches your palate what “balanced” actually feels like.
3. Speed & confidence
No measuring. No second‑guessing. Just season, cook, taste, learn.
4. A benchmark for your future blends
You can’t break the rules until you know the rules. A balanced small‑batch rub gives you a baseline.
Shop beginner‑friendly small‑batch rubs →
Why Homemade Rubs Are Worth It (Later)
1. Total control
Salt, sugar, heat — you decide the levels.
2. Fresher flavour
Freshly ground spices hit harder than anything sitting on a shelf.
3. Creative freedom
Build blends around ingredients you love — smoked paprika, lemon myrtle, mountain pepper, bush tomato.
4. Cost‑effective
Buying spices in bulk is cheaper than buying multiple blends.
Beginner‑Friendly Rub Picks
- Fixes Most Things — balanced, versatile, impossible to mess up
- Sweet Heat & Shenanigans — sweet, warm, perfect for chicken + pork
- Herbalicious Rubdown — bright, herb‑forward, great for veg + seafood
So… Which Should Beginners Choose?
Start with a properly balanced, small‑batch rub — not a supermarket blend. Let it teach your palate what “good” actually tastes like.
It’s like learning guitar — you don’t build your own instrument before you can play a chord.
Small‑batch rubs teach your palate. Homemade rubs express your personality. Both matter — just not at the same time.
How to Know When You’re Ready to Make Your Own Rub
You’re ready when you can answer these three questions without guessing:
- What does too much salt taste like
- What does too much sugar taste like
- What does “balanced” taste like
If you can identify those three things, you’re ready to start mixing.
A Beginner‑Friendly Formula for Homemade Rubs
When you’re ready to experiment, start simple:
- 1 part salt
- 1 part sugar
- 2 parts savoury (garlic/onion/paprika)
- ½ part heat
Taste it raw. Then taste it cooked. They will not taste the same — and that’s the lesson.
Common Beginner Mistakes
- Using too much salt
- Judging a rub raw
- Burning sugar at high heat
- Under‑seasoning
- Contaminating the jar with raw meat
- Expecting a rub to fix poor cooking technique
For more help avoiding these, see the biggest BBQ rub mistakes beginners make.
How to Apply a Rub Properly
- Press or pat — don’t scrub it in
- Coat evenly
- Let the meat sit for 10–30 minutes
- For veg, toss with oil + rub
- For meat, natural moisture is usually enough — mustard or oil works if needed
Full guide: How to Apply BBQ Rubs Properly →
Dry Rub vs Dry Brine
Dry brine = salt only, long rest, moisture retention.
Dry rub = full flavour blend, short rest, crust development.
They’re not interchangeable. For more on rub types, see Dry Rub vs Wet Rub →
Do Dry Rubs Work on Vegetables?
Absolutely. Veg loves rubs.
They cling beautifully, caramelise fast and turn simple veg into something genuinely exciting.
For veg‑specific rub picks, see Best BBQ Rubs for Vegetables →
FAQ: Beginner Questions About Dry Rubs
Do dry rubs work on vegetables?
Yes. Toss veg with a little oil first, then apply the rub. It helps with adhesion and caramelisation.
Should beginners start with small‑batch rubs or homemade blends?
Start with a properly balanced, small‑batch rub. Let it teach your palate. Let it build your confidence. Let it show you what “good” tastes like.
What are the basic ingredients in a dry rub?
Sugar, salt, savoury elements, herbs/spices and heat.
How long should a rub sit on meat?
10–30 minutes for most cuts.
How do I store homemade rubs?
In an airtight container, in a cool, dark place, for up to six months. Full guide: How to Store BBQ Rubs →
The Final Word
Start with a properly balanced, small‑batch rub — not a supermarket blend. Let it teach your palate what “good” actually tastes like.
Then — when you’re ready — start crafting your own blends with intention, curiosity and flavour‑truth.
Every blend in the Outback Smoke & Fire range is crafted for balance, boldness and versatility.