
BBQ Basics
How to Apply BBQ Rubs Properly (Most People Do It Wrong)
Sep
How to Apply BBQ Rubs Properly (Most People Do It Wrong)
If your rub isn’t sticking, crusting or making your BBQ smell like a festival, this one’s for you.
Here’s the uncomfortable truth:
Most people apply BBQ rubs like they’re scared of flavour.
A polite sprinkle.
A shy dusting.
A “that’ll do” shake.
And then they wonder why their chicken tastes like… chicken.
If you want colour, crust, caramelisation and confidence, you need to apply your rub properly — with intention, attitude and a little Outback swagger.
Before we dive in, check out our Complete Guide to Outback Smoke & Fire BBQ Rubs for the full breakdown of rub types and how they work.
Let’s fix that.
🔥 Step 1: Pat Your Meat Dry
Moisture is the enemy of crust.
Wet meat = steamed meat.
Steamed meat = sadness.
Grab paper towel.
Pat it dry like you’re blotting sweat off a marathon runner.
Now you’ve got a clean canvas.
🔥 Step 2: Oil (Optional, But Smart)
A light drizzle of oil helps the rub stick — especially on lean cuts like chicken breast or pork loin.
You’re not deep‑frying it.
You’re giving the rub something to grab onto.
Think of it as primer before paint.
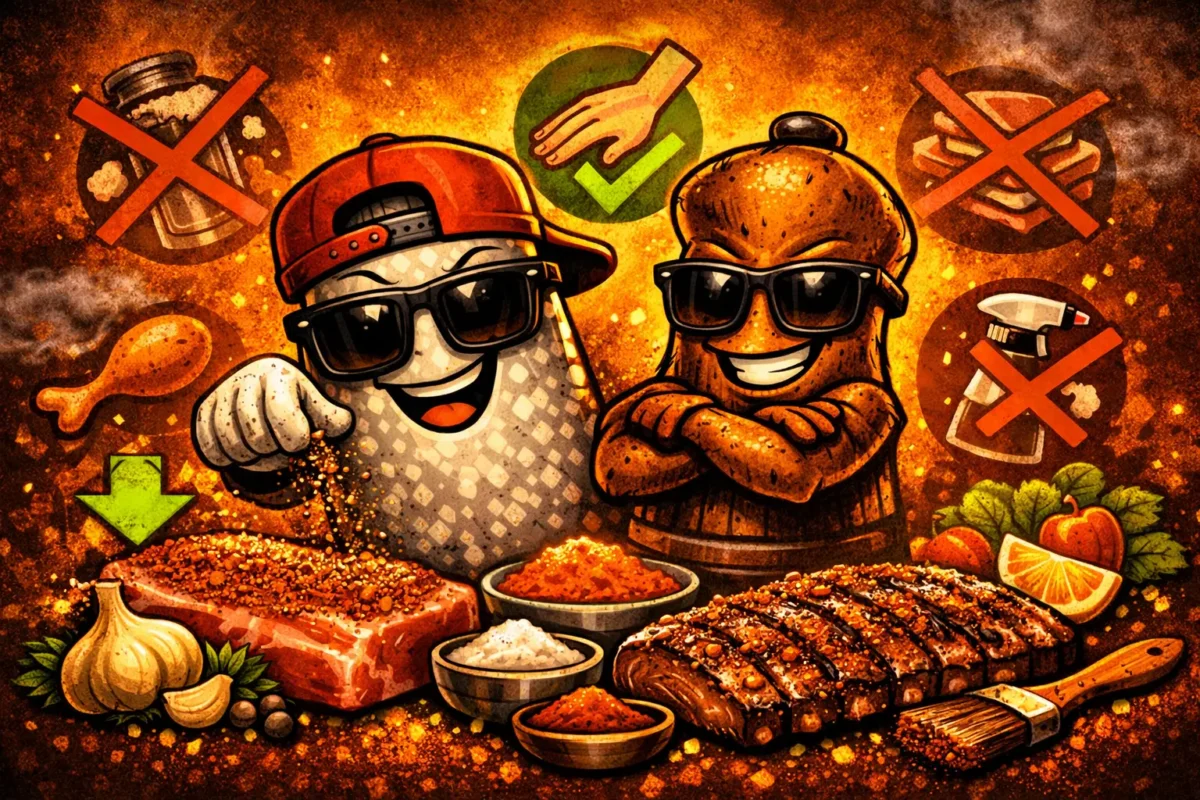
🔥 Step 3: Season Like You Mean It
This is where 90% of people fail.
If you can still see the meat through the rub, you’re not done.
You want:
- Full coverage
- Even distribution
- No bald spots
- No timid shaking
Hold the shaker high and let it rain like you’re blessing the BBQ.
Best rubs for bold, even coating:
Fixes Most Things (all‑rounder), Sweet Heat & Shenanigans (sticky shine), Too Hot for Common Sense (clean heat), Herbalicious Rubdown (herb‑bright).
🔥 Step 4: Let It Sit
Give the rub time to work.
Quick cooks (wings, thighs, skewers):
10–20 minutes.
Big cuts (whole chicken, pork shoulder):
30 minutes to overnight.
During this time:
- Salt pulls moisture to the surface
- Sugars start dissolving
- Spices hydrate
- Flavour bonds to the meat
It’s like marinating… but smarter.
🔥 Step 5: Cook Without Fiddling
The crust forms when you leave it alone.
If you flip too early, you rip off the bark.
If you poke too much, you lose juices.
If you keep checking it, you’re just letting heat escape.
Trust the rub.
Trust the process.
Trust the smell.
🔥 Step 6: Finish With a Second Hit (Optional)
Want extra flavour?
A final sprinkle after cooking gives you:
- A fresh pop of spice
- A boost of colour
- A little extra attitude
Best finishing rubs: Fixes Most Things, Herbalicious Rubdown, Too Hot for Common Sense.
🔥 Common Rub Mistakes (And How to Avoid Them)
❌ Using too little
✔ Use enough to coat the meat properly.
❌ Rubbing too hard
✔ Pat it in — don’t massage it like a day spa.
❌ Adding rub to wet meat
✔ Dry first, always.
❌ Cooking too hot too fast
✔ Let the sugars caramelise, not burn.
❌ Forgetting to rest the meat
✔ Resting = juiciness.
🔥 Why Outback Smoke & Fire Rubs Make This Easy
The whole range is engineered for proper application:
- Fixes Most Things — melts evenly, builds colour fast
- Sweet Heat & Shenanigans — creates a sticky, glossy coat
- Herbalicious Rubdown — bright, clean, perfect for lighter cooks
- Too Hot for Common Sense — clean heat that bonds beautifully
Each blend sticks, hydrates and caramelises the way a proper Australian rub should.
🔥 Ready to Rub Like a Pro?
If you want BBQ that looks incredible, smells outrageous and tastes like you actually know what you’re doing…